Getting Started
Creating your account
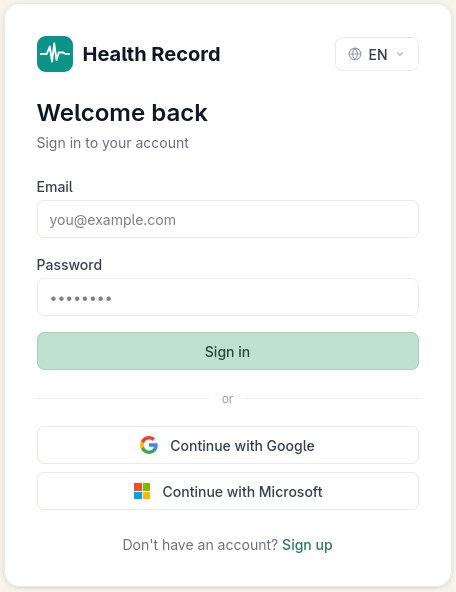
Open the app and choose Register. You can sign up with an email and password, or use Sign in with Google or Sign in with Microsoft if you'd rather not manage another password. All three methods create the same kind of account — you can add the others later from Settings.
Signing in
Return visits just need your email/password or your chosen OAuth provider. If you've enabled multi-factor authentication (see the Security section), you'll be asked for a one-time code from your authenticator app after your password.
The dashboard
After signing in you land on the dashboard, which surfaces:
- Recent vital signs and body measurements as trend charts
- Upcoming medication and follow-up reminders
- A collapsible sidebar covering every data section: Conditions, Medications, Allergies, Immunizations, Vitals, Body Measurements, Lab Results, Nutrition, Activity/Sleep/Wellness events, Family History, Dental Records, Encounters, and Documents
The sidebar can be collapsed to icon-only mode if you want more screen space — your choice is remembered.
Adding your first record
Every section follows the same pattern: an Add button opens a form, autocomplete fields suggest standard codes as you type (ICD-10/SNOMED for conditions, LOINC for labs and tests), and everything you save is immediately reflected in charts and exports. There's no wrong order to enter things in — add whatever you have on hand first.
Language and units
Your language (English, Spanish, French, or Turkish) and preferred units can be changed at any time from Settings → Preferences, and take effect immediately across the whole app, including exports.